
For my home recording rig, I use a 7×3′ desk (made out of an old door) to hold my audio interface and any instruments or effects I’m using – keyboards, pedals, mics, preamps, etc. I don’t like that real estate to be cluttered up with stuff that could live somewhere else. The computer, the speakers, lighting and monitors should ideally be sitting somewhere other than the desk.
At my last place, I solved the problem by attaching picture hanger D-rings to the backs of my monitors and hanging them from drywall screws. That meant having a big ugly piece of wood spanning at least two studs, and lots of room for error when it came to making things level and straight.
So here’s my new method. It cost about $10, looks a lot nicer and is a lot easier to get things hung straight.

It’s all based on this stuff I found at Menard’s. It’s a rail used for hanging garage shelving. It’s steel and it already has holes every 8″ which should line up with the studs in most walls. I bought one 7′ piece for hanging on the wall and a smaller 40″ piece to cut up and attach to the monitors.

To cut the stuff, I used a jigsaw with a fine-tooth metal cutting blade.

I also used a drill press and a step bit to drill the holes for the bolts that go into the back of the monitors.

An orbital sander with a 60 or 80 grit disk is handy for removing the burrs so the screws fit tighter.

I cut the smaller rail into 8″ chunks, and drilled two holes 10cm apart, which will line up with the mounting holes on the backs of my monitors.

To hang the long rail — a drill, a level, some long drywall screws and some washers.

I used three screws, figuring the material is strong enough. The idea behind using such a long piece is that I can slide the monitors anywhere along the rail. The center screw is going into a known stud. The other two I didn’t check because it’s a plaster and lath wall and the wood lath should hold it well enough. Going into drywall you may either want to be sure there’s a stud or use some heavy-duty anchors.

Detail of the wall rail. The brackets on the monitors are the same material but upside down. You can see how they will interlock that way.

The back of the monitor without the bracket. I’m using just the top two holes.

Back of monitor with bracket installed.

Detail of the bracket. The top of the bracket will click into the bottom of the rail.

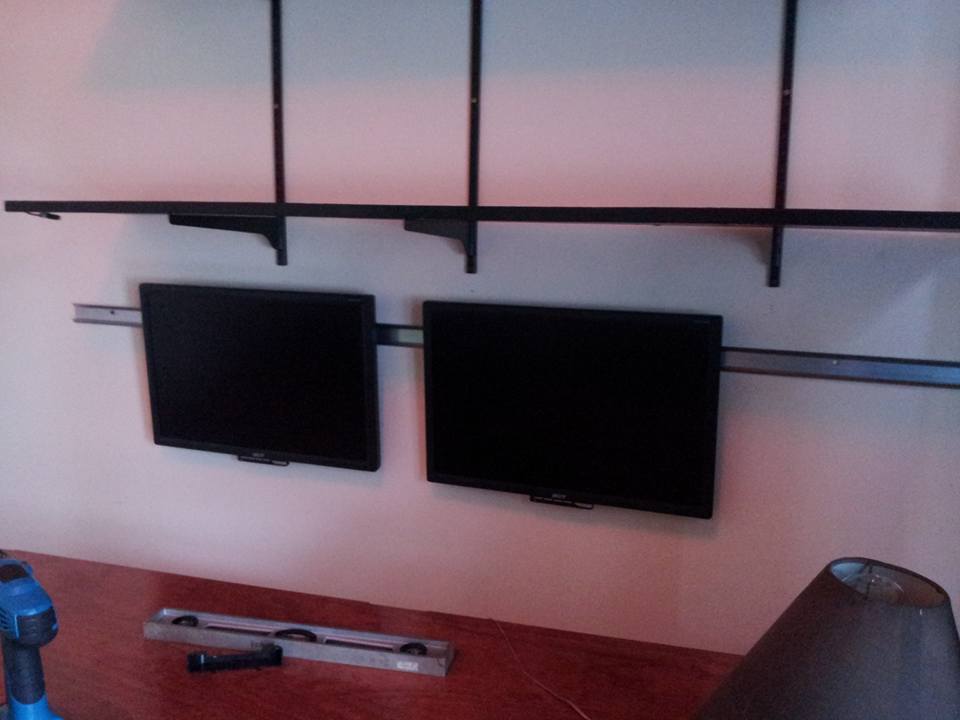
The monitors installed.

And here’s everything hooked up and powered on. Now, if I want to set up synths or mics on my big table and need to move the monitors down, I can. I can also make pegboard panels that hang the same way to store cables and stuff. And no more wasting space on the table with monitor stands.